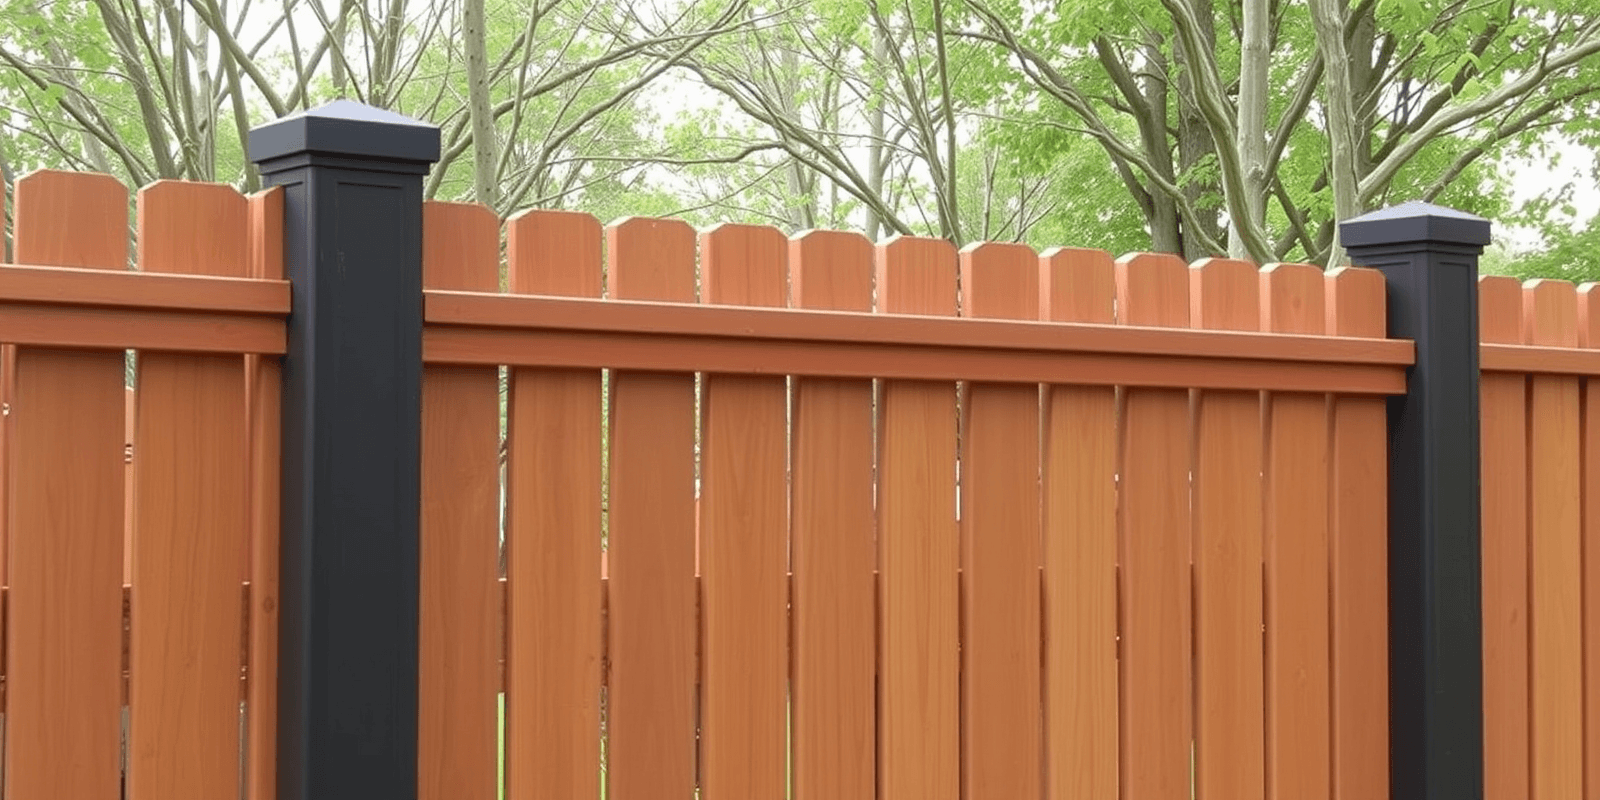
DIY Guide: How to Install a WPC Decking Fence
Introduction
Welcome to our comprehensive guide on how to install a WPC (Wood Plastic Composite) decking fence! WPC fencing is an excellent choice for those looking for low-maintenance, eco-friendly, and aesthetically pleasing outdoor solutions. This guide will walk you through the entire process, from gathering the necessary tools to the final installation steps. By the end of this article, you’ll have all the information needed to create a beautiful and durable WPC decking fence in your backyard.
Understanding WPC Decking Fencing
Before diving into the installation process, it’s essential to understand what WPC decking fencing is and why it’s becoming increasingly popular. WPC decking combines wood fibers with plastic to create a material that is both strong and resistant to moisture, rot, and insects. This makes it an ideal choice for outdoor applications like fences, where exposure to the elements can be significant. Additionally, WPC decking is available in a variety of colors and styles, allowing homeowners to match their desired aesthetic while enjoying the benefits of low maintenance.
Tools and Materials Needed
- WPC Decking Boards: Choose boards that are compatible with your desired style and color scheme.
- Decking Screws: Use screws specifically designed for WPC materials to ensure a secure fit.
- Post Anchors: These help to secure the fence posts in place and provide additional stability.
- Concrete Mix: For setting the fence posts firmly in the ground.
- Measuring Tape: Essential for ensuring accurate measurements throughout the project.
- Square: Helps maintain straight lines when marking and cutting boards.
- Drill: For drilling pilot holes and driving screws.
- Circular Saw: For cutting WPC boards to size.
- Ladder: Required for working at heights during installation.
- Level: Ensures that the fence remains straight and true.
Step-by-Step Installation Process
- Planning and Preparation: Measure the area where the fence will be installed and mark the locations for each post. Ensure that you have the correct number of posts and that they are spaced according to the manufacturer’s recommendations.
- Digging Post Holes: Using a post hole digger or shovel, dig holes for each post. The depth should be at least one-third the height of the fence. Compact the soil at the bottom of each hole before placing the post anchor.
- Setting Posts: Place the post anchors into the holes and set the fence posts inside them. Use a level to ensure that the posts are plumb. Pour concrete around the base of each post and allow it to set according to the manufacturer’s instructions.
- Installing Rails: Once the posts are securely set, install the horizontal rails between the posts. Use screws to attach the rails to the posts, making sure they are evenly spaced and level.
- Adding WPC Decking Boards: Begin attaching the WPC decking boards to the horizontal rails. Start at one end of the fence and work your way along, using screws to secure each board. Leave a small gap between each board to allow for expansion.
- Finishing Touches: Once all the boards are in place, inspect the fence for any gaps or uneven areas. Make adjustments as necessary. Consider adding decorative caps or trim to enhance the appearance of your new WPC decking fence.
Tips for Successful Installation
- Measure Twice, Cut Once: Accurate measurements are crucial to ensure that your fence fits perfectly and looks professional.
- Use Pilot Holes: When attaching boards to the rails, drill pilot holes first to prevent splitting the WPC material.
- Allow for Expansion: Remember to leave small gaps between boards to account for thermal expansion and contraction.
- Secure Posts Properly: A solid foundation is key to a sturdy fence. Ensure that posts are set deep enough and anchored securely.
Maintaining Your WPC Decking Fence
While WPC decking fences require less maintenance than traditional wooden fences, regular care can help extend their lifespan and keep them looking their best. Periodically clean the fence with mild soap and water, and address any stains or discolorations promptly. Avoid using harsh chemicals or abrasive tools, as these can damage the surface of the WPC material. Regular inspections can also help identify and address any issues early on, ensuring your fence remains a beautiful addition to your property for years to come.
Conclusion
Installing a WPC decking fence is a rewarding DIY project that can transform your outdoor space while offering long-lasting durability and low maintenance. By following the steps outlined in this guide and taking the time to plan carefully, you can create a fence that not only enhances the aesthetics of your yard but also provides years of enjoyment. Remember to choose quality materials and tools, and don’t hesitate to seek professional advice if you encounter any challenges during the installation process. With patience and attention to detail, you’ll soon have a beautiful WPC decking fence that adds value and charm to your home.
References
For more detailed information on WPC materials and installation techniques, consider consulting the following resources:

